
Repository
Create Animation And Scene Transitions In Phaser 3
What Will I Learn?
- You will learn the anims.play () function.
- You will learn to move physics objects and play animations according to keyboard keys.
- You will learn scene.start() function.
- You will learn how to create scenes and how to switch between scenes.
- You will learn keyboard.addKey() function
Requirements
- Have basic html5 and javascript knowledge.
- Visual Studio Code
Difficulty
- Basic
Tutorial Contents
In this article, we will control the player's movement with the keyboard and we will perform the necessary actions to move the player physically and move to the other scene after the player has gained the animation movement.
We will learn how to activate each key of the keyboard and move the player to the next scene when the player arrives at a certain position and the W key is pressed. We will determine how the player will act on the second stage with the second scene class.
Create The Arrow Keys
We must first write the createCursorKeys() function to use the arrow keys on the keyboard. The createCursorKey() function activates a set of keys on the keyboard.
First create a variable named cursor in the in.js file then we transfer this keyset to the cursor variable and examine the cursor variable in create() function.
//use activate the cursor keys
var cursor;
…
create(){
//activate specific keyset
cursor=this.input.keyboard.createCursorKeys();
console.log(cursor);
…
}
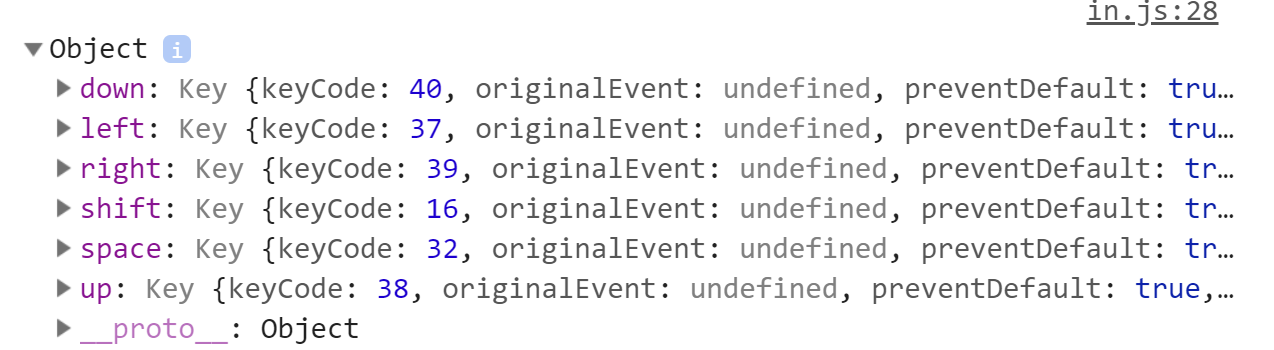
Now we see the keys to use in the cursor. In addition to the keyboard arrow keys, we can also use the `shift` and `space` keys. We will follow a different path for the other keys on the keyboard.
We will use the left and right arrow keys to move the player we create.
update(){

 //check left button pressed
if(cursor.left.isDown){
    //move left
    player.setVelocityX(-100);

}
 //check right button pressed
 if(cursor.right.isDown){
    //move right
   player.setVelocityX(100);

        }
}
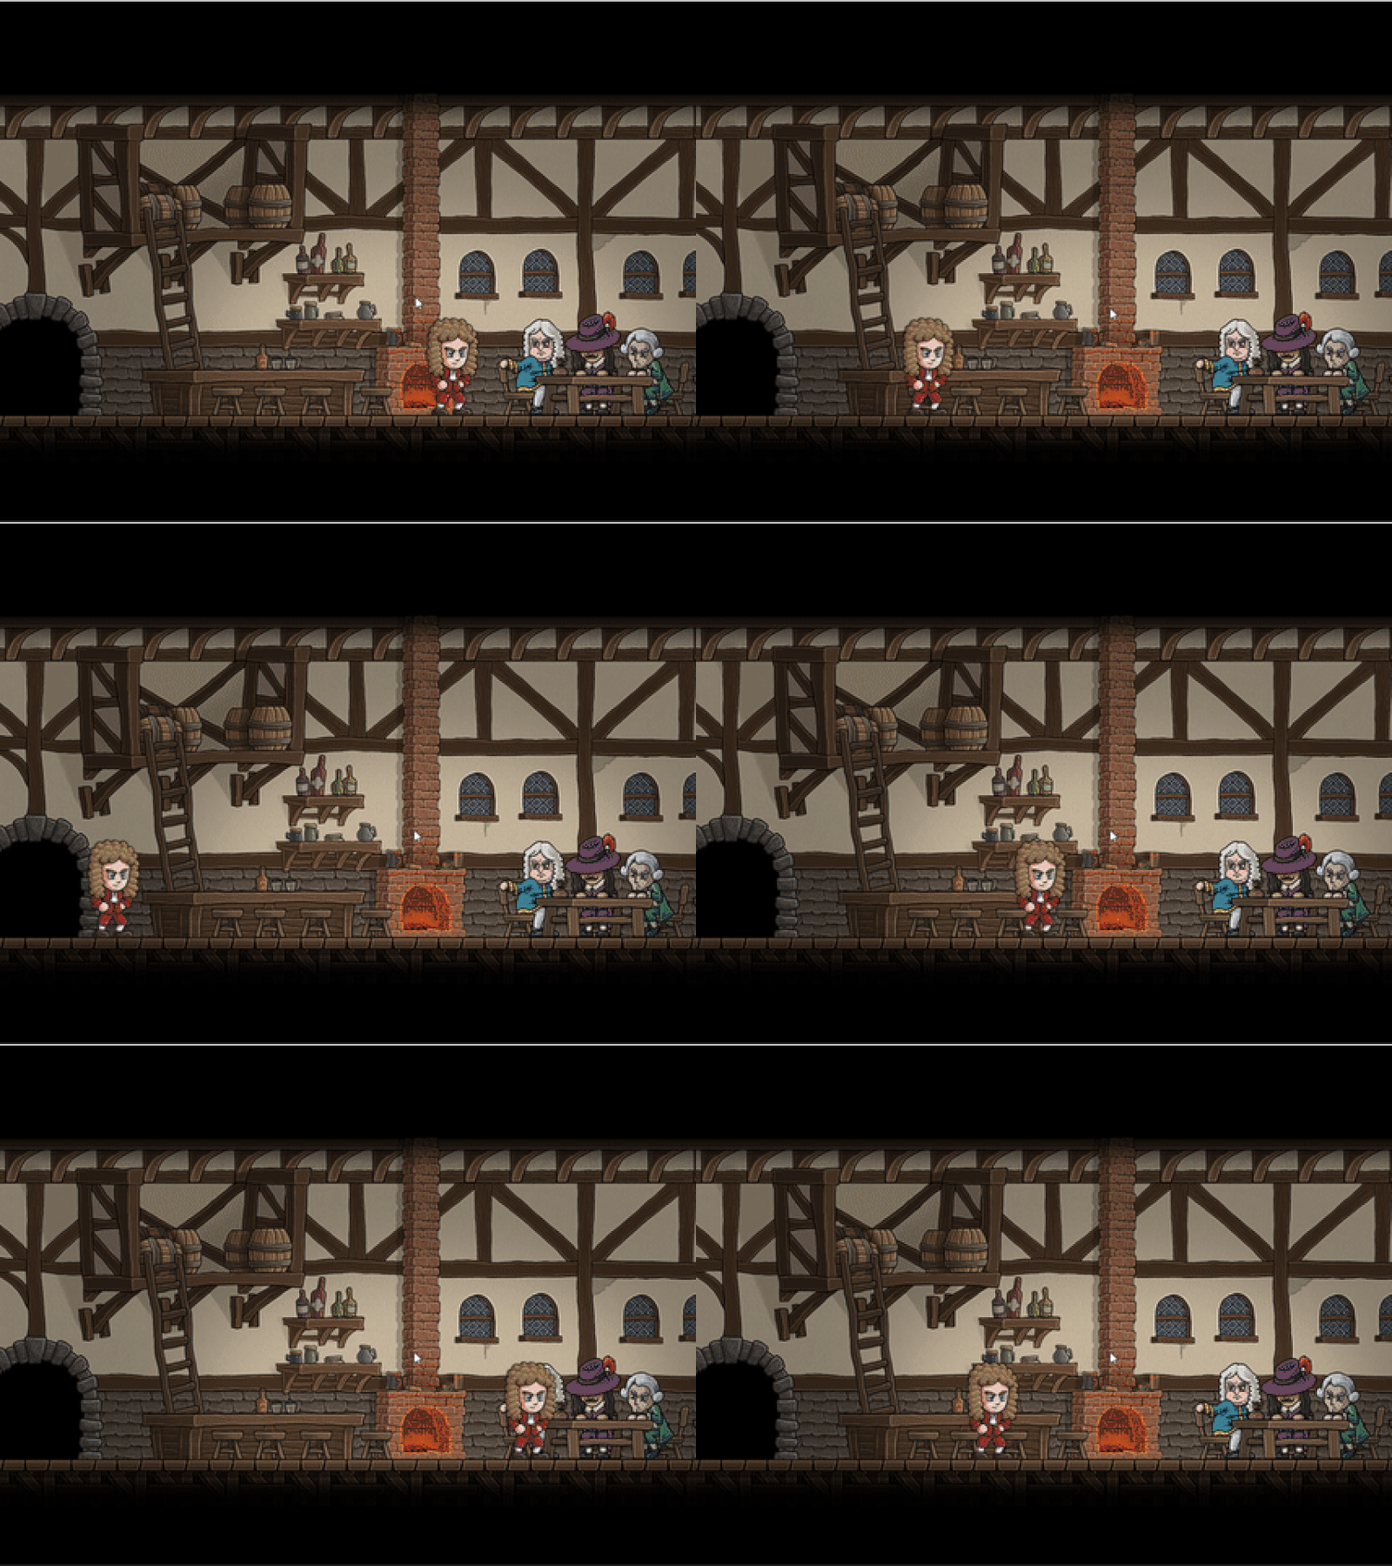
We can move objects on the X axis with the `setVelocityX ()` function. As we have not yet played the animation while moving the player, we see the frames in the first frame.
Let the player play the appropriate animations as the object moves left and right.
//check left button pressed
if(cursor.left.isDown){
   //move left
   player.setVelocityX(-100);
   //play left walk animation
   player.anims.play('leftwalk',true)
}
//check right button pressed
if(cursor.right.isDown){
   //move right
   player.setVelocityX(100);
   //play right walk animation
   player.anims.play('rightwalk',true)
}
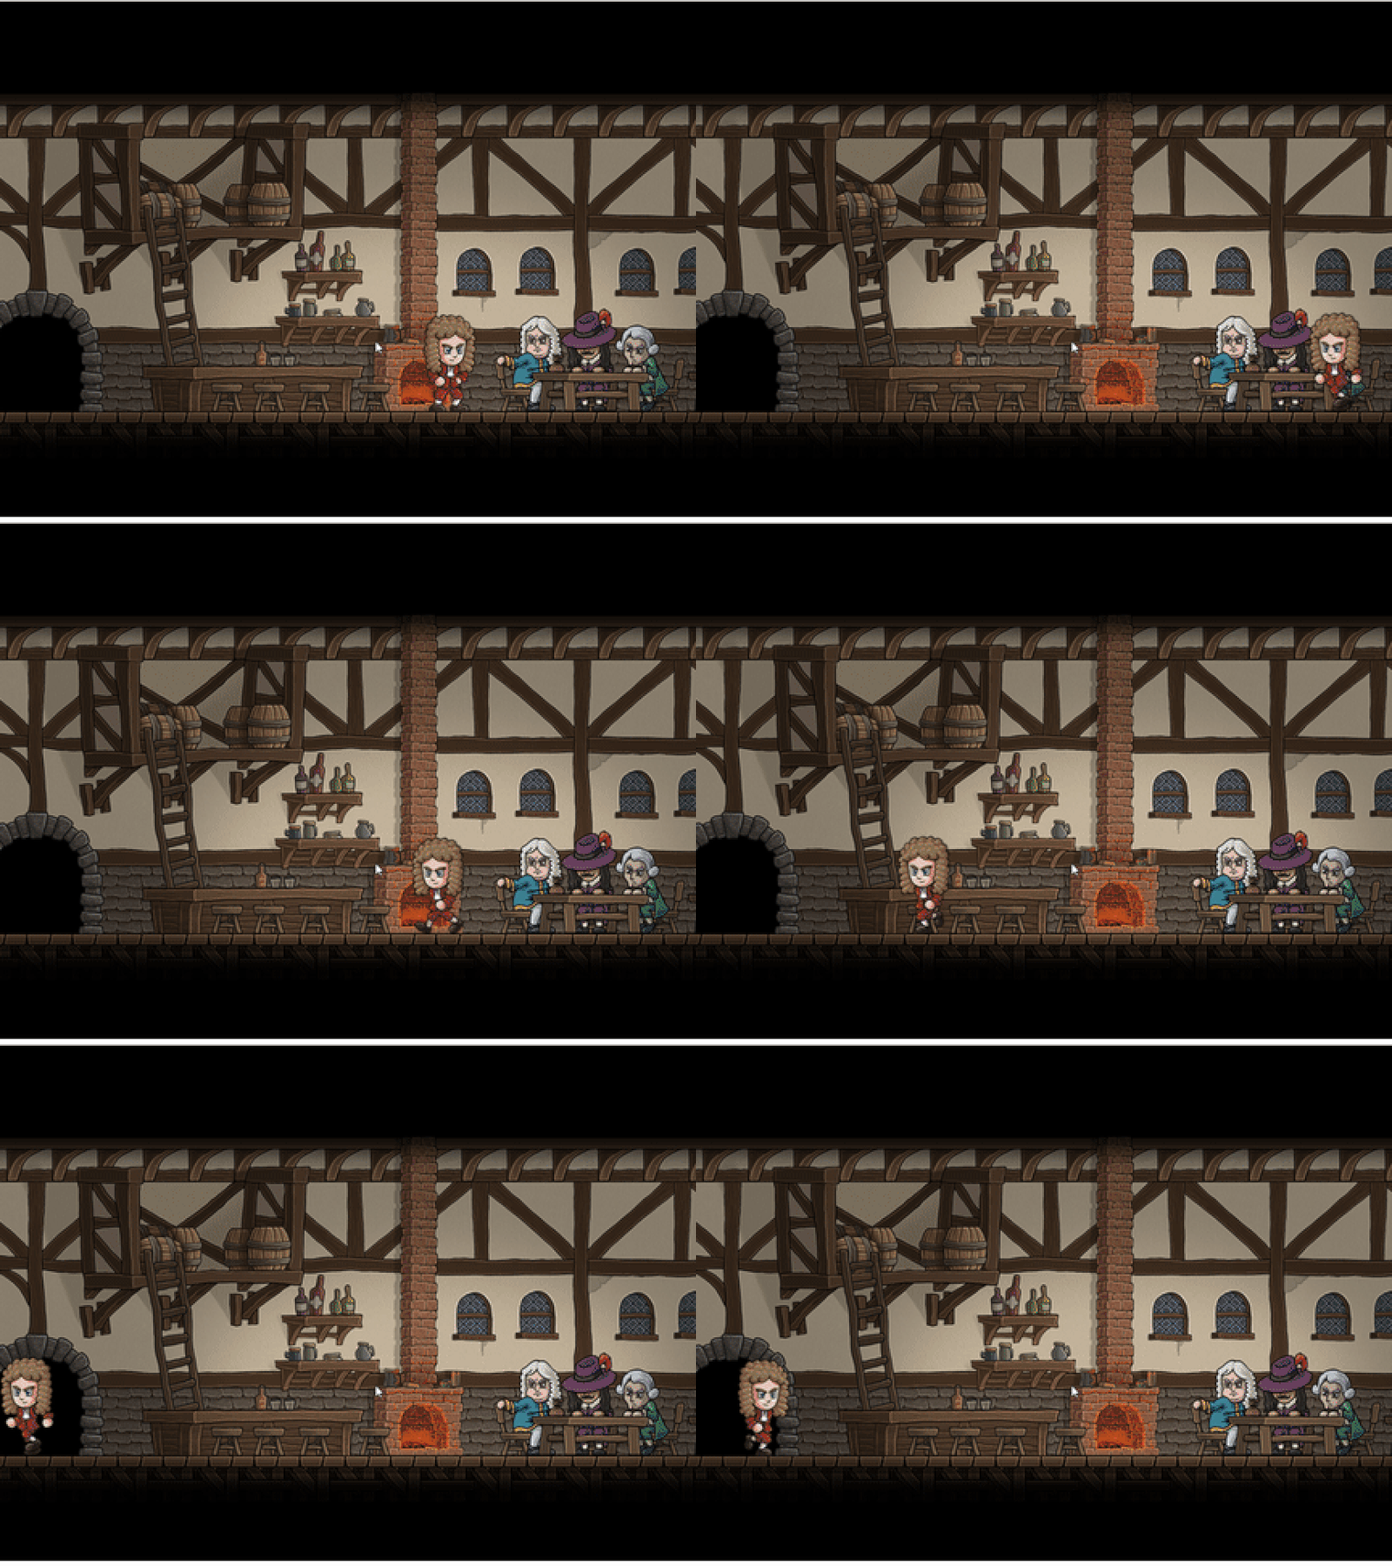
Now our player object moves to the right and left, but if we do not intervene it goes out of the playing field.
We can fix this issue for this game in two ways.
Limiting Player Movement
We can perform collision with the playing field boundaries to limit the player's movement or we can stop the player object when the keyboard up key is pressed.
We need to run setCollideWorldBounds () on the player to perform collision with player limits.
//enable player collision with playing field
player.setCollideWorldBounds(true);
In phaser, the collision of physics objects with the playing field is false by default, and physics objects disappear on the screen without colliding with the playing field.
The physics object will recognize the playing fields when we setCollideWorldBounds (true).
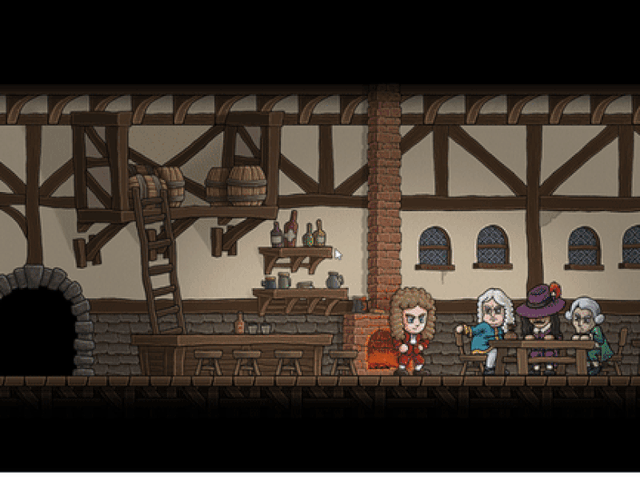
Another method is to stop the player. We need to check the moment the keyboard is up, the moment it is pressed to stop the player.
//Is the up arrow key pressed
if(cursor.up.isDown){
    //stop player object
    player.setVelocityX(0);
    //play anims
    player.anims.play('rightstop',true);
}
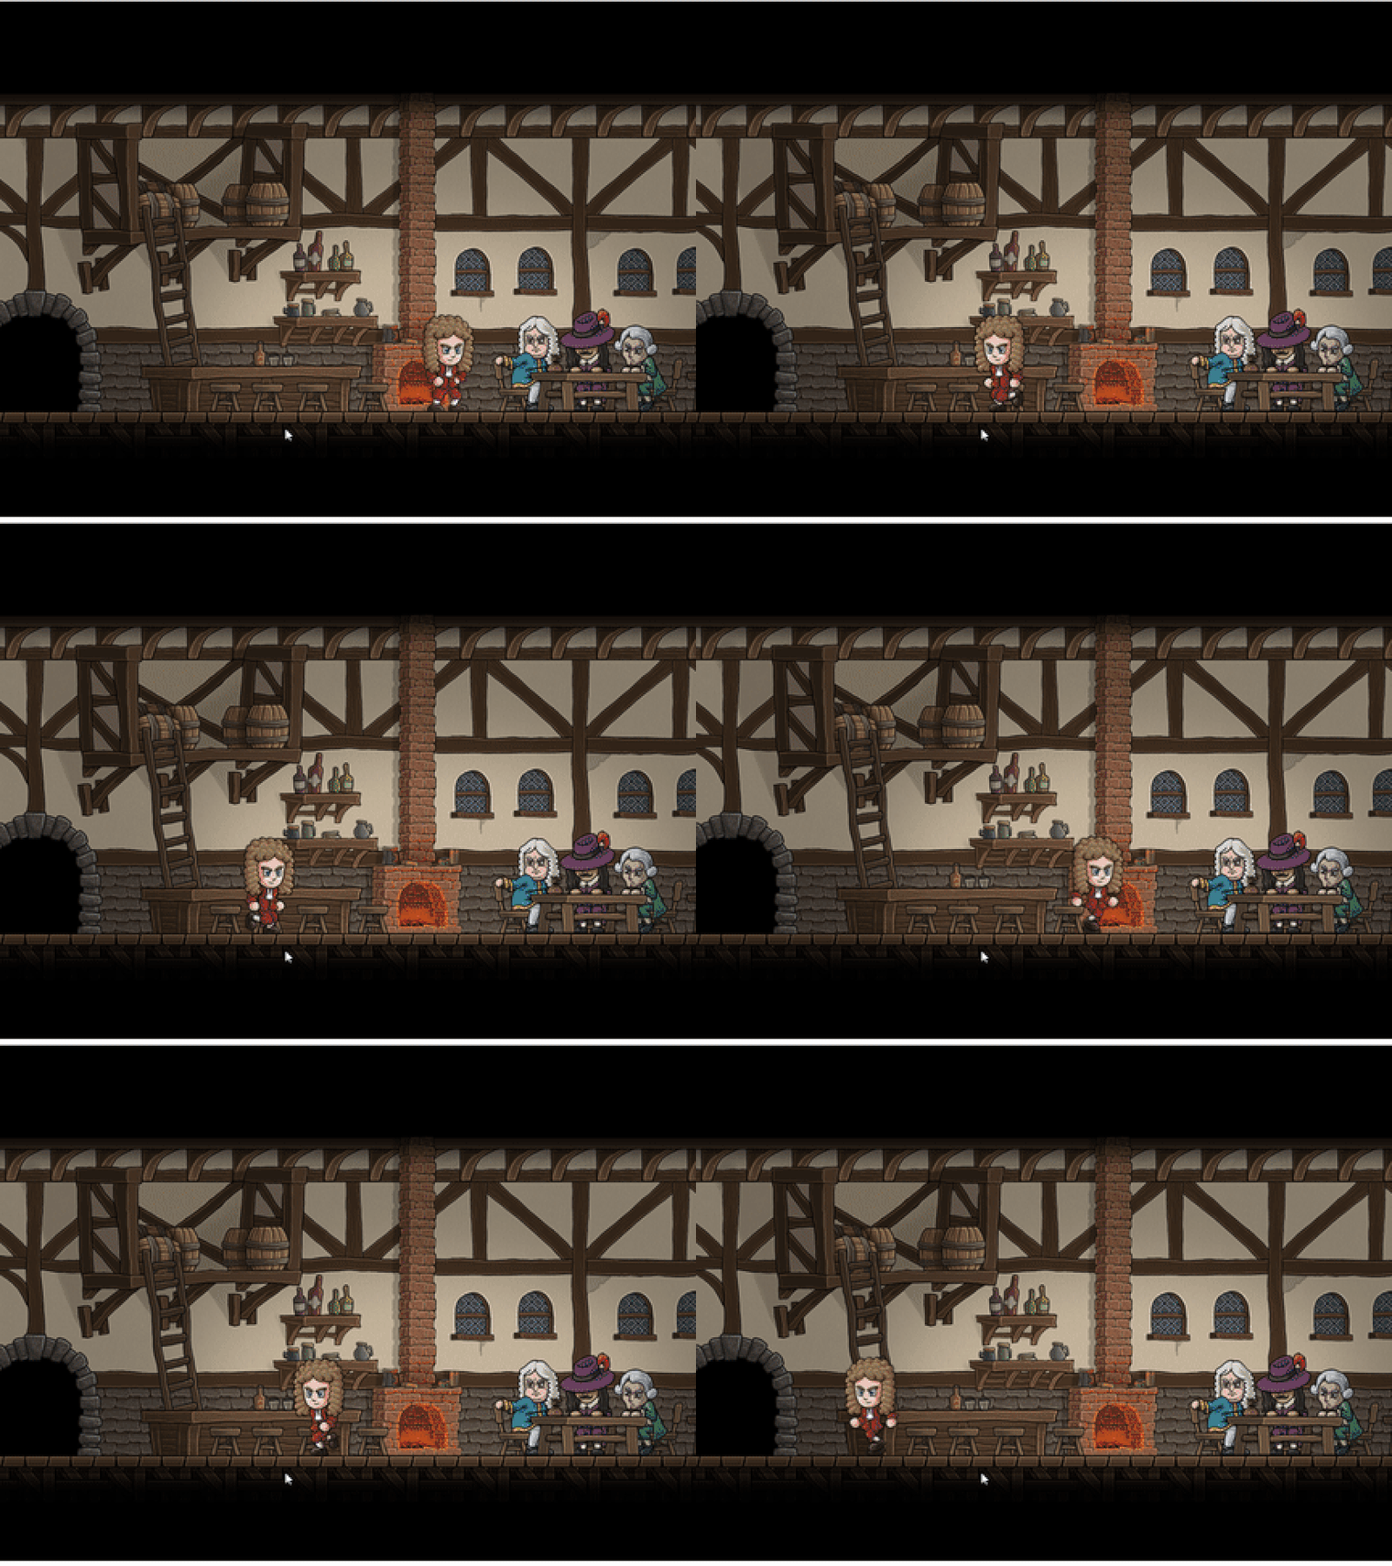
When we do this, no matter which direction the player goes, the stop operation will stop when the `rightstop` animation works. To solve this problem, let's keep in a variable which direction it goes and run the stop animation according to this variable when the up arrow key is pressed. ``` update(){
//check left button pressed if(cursor.left.isDown){ //move left player.setVelocityX(-100); //play left walk animation player.anims.play('leftwalk',true); //set left direction this.direction='left'; } //check right button pressed if(cursor.right.isDown){ //move right player.setVelocityX(100); //play right walk animation player.anims.play('rightwalk',true); //set right direction this.direction='right'; } if(cursor.up.isDown){ if(this.direction=='right'){ //move right player.setVelocityX(0); //play right walk animation player.anims.play('rightstop',true); }else{ //move right player.setVelocityX(0); //play right walk animation player.anims.play('leftstop',true); } }
}
<br>
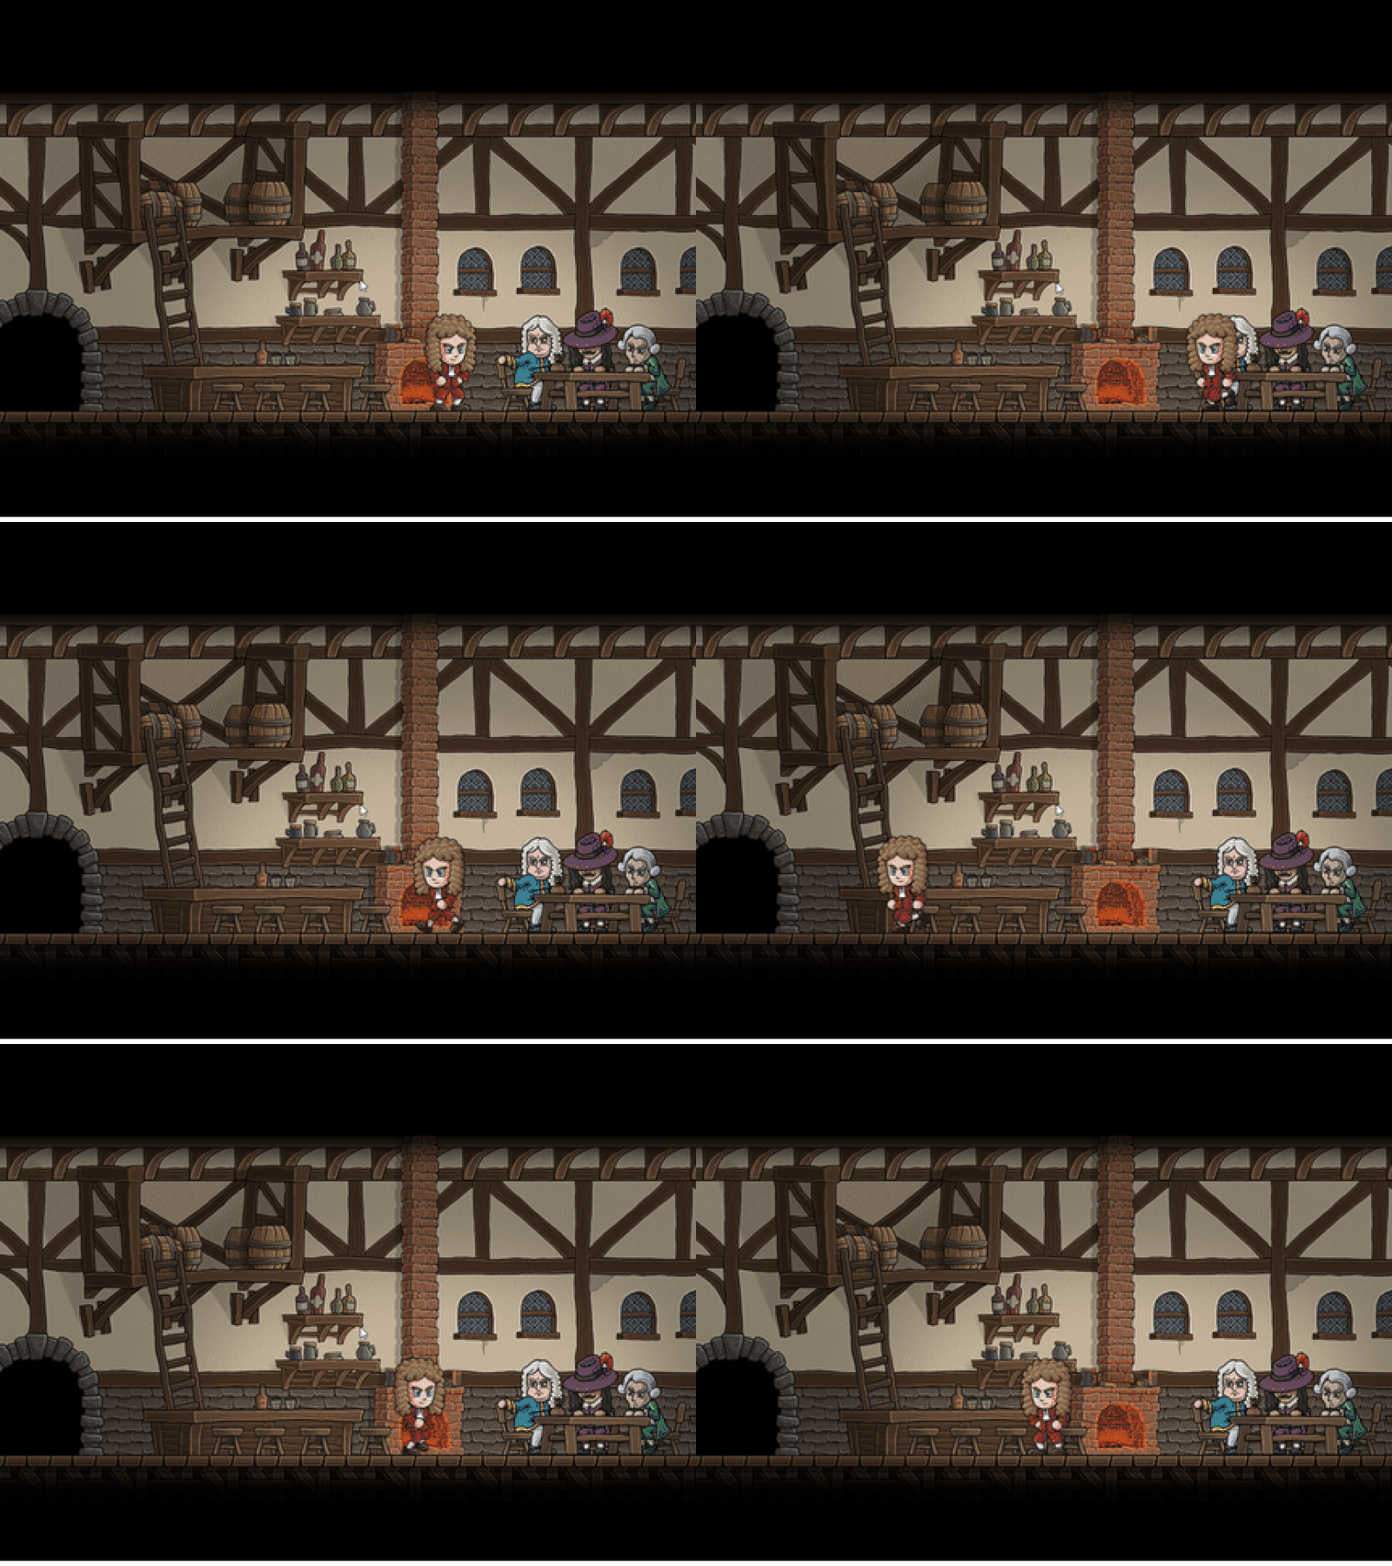
Now we can stop the player according to the player's direction.
<br>
### Create Second Scene
Now we can create the second scene. In the second scene, just like in the first scene, we will set the animation and keyboard keys to move this animation. After creating two scenes, we will move to the next scene when the player object is in the position of the door and when W key is pressed.
Let's create the `out.js` file and create the class with the name `OutScene`.
var player; var cursor; var keyObj;
//create class for second scene class OutScene extends Phaser.Scene{ constructor(config){ super(config); Phaser.Scene.call(this,{key:'out'}); } init(data) {} preload(){ // upload background image this.load.image('background','./assets/houseout.png'); // create frame to set animation this.load.spritesheet('character', './assets/character.png', {frameWidth:150,frameHeight:117}); }
create(){
// we will create the keyboard and animation.

}

update(){
// we will move the player.
}
}
<br>
We need to access this outScene class from where we created the game's config setting so we can set the second scene for the game.
//Let's create the scene object for config. var outScene=new OutScene(); … //Define two scenes in the scene property in config scene:[inScene,outScene],
<br>
So the second scene will be ready for use. Let's create the keyboard and animation at the moment of create.
create(){
this.add.image(384,256,'background2');
player=this.physics.add.sprite(500,350,'character'); //activate specific keyset cursor=this.input.keyboard.createCursorKeys();
//enable player collision with playing field player.setCollideWorldBounds(true);
//create direction right stop this.anims.create({ key:'rightstop', frames:[{key:'character',frame:0}], frameRate:20 });
//create direction right down this.anims.create({ key:'rightdown', frames:[{key:'character',frame:1}], frameRate:20 });
//create direction right walk this.anims.create({ key:'rightwalk', frames:this.anims.generateFrameNumbers('character',{start:2,end:7}), frameRate:10, repeat:-1 }); //create direction left stop this.anims.create({ key:'leftstop', frames:[{key:'character',frame:8}], frameRate:20 });
//create direction left down
this.anims.create({
key:'leftdown',
frames:[{key:'character',frame:9}],
frameRate:20
});
//create direction left walk
this.anims.create({
key:'leftwalk',
frames:this.anims.generateFrameNumbers('character',{start:10,end:15}),
frameRate:10,
repeat:-1
});
}
<br>
Create the codes required to move the player in the `update()`.
//check left button pressed
if(cursor.left.isDown){
//move left
player.setVelocityX(-100);
//play left walk animation
player.anims.play('leftwalk',true);
//set left direction
this.direction='left';
}
//check right button pressed
if(cursor.right.isDown){
//move right
player.setVelocityX(100);
//play right walk animation
player.anims.play('rightwalk',true);
//set right direction
this.direction='right';
}
if(cursor.up.isDown){
if(this.direction=='right'){
//move right
player.setVelocityX(0);
//play right walk animation
player.anims.play('rightstop',true);
}else{
//move right
player.setVelocityX(0);
//play right walk animation
player.anims.play('leftstop',true);
}
}
<br>
### Set The Transition Between Scenes

We will activate the `W` key on the keyboard before setting the scene transition so pressing the W button will switch to the next scene.

With the `keyboard.addKey ()` function, we can set any keys from the keyboard. We will activate the W key in both scenes using this function.
//add W key keyObj=this.input.keyboard.addKey('w');
<br>
Now that we have activated the W key, let's set a specific location for the `in.js` and `out.js` files.

For in.js
//check location if((player.x>50&&player.x<100)&&keyObj.isDown){ //run other scene if position is correct this.scene.start('out'); }
<br>
For out.js
//check location if((player.x>370&&player.x<420)&&keyObj.isDown){ //run other scene if position is correct this.scene.start('in'); }
<br>
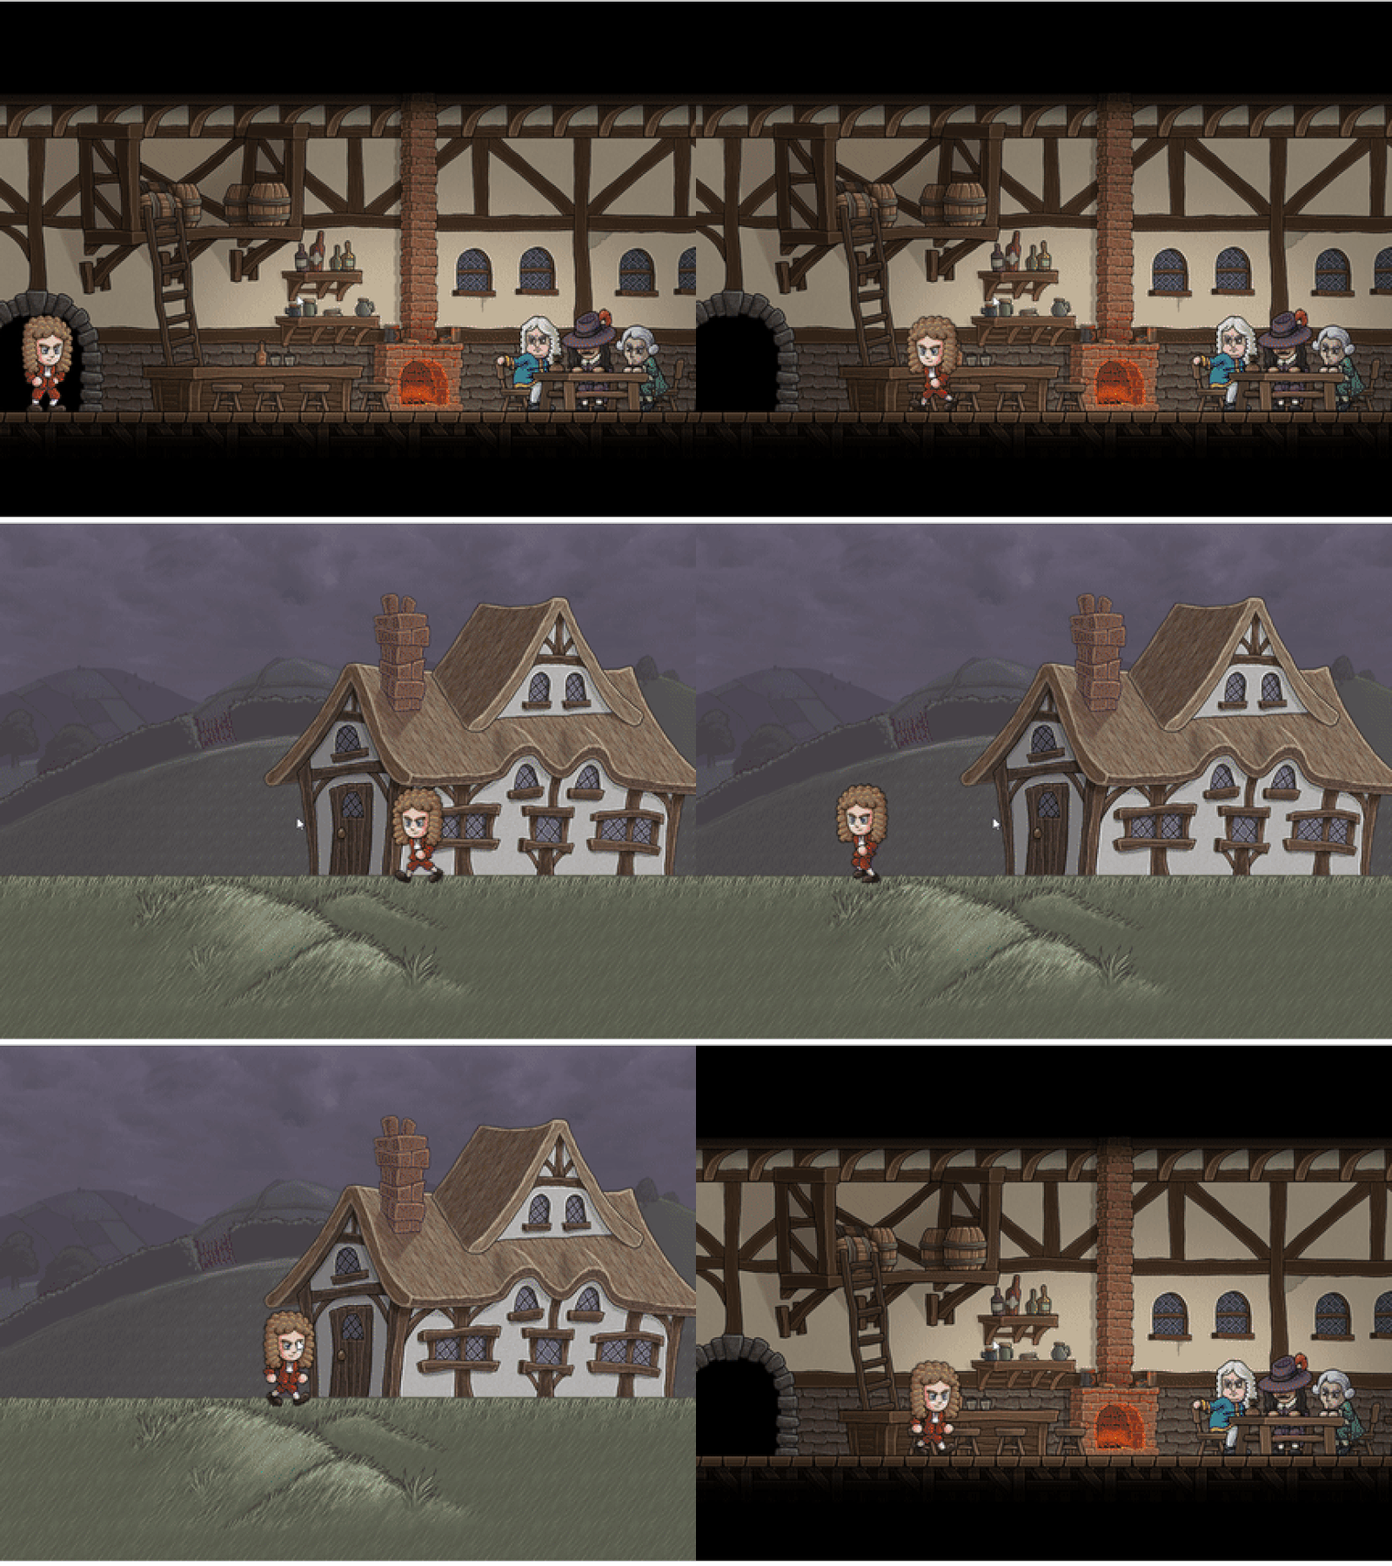
When we do this, we need to adjust the player's position.
<br>
# Curriculum
https://steemit.com/utopian-io/@onepice/create-animation-and-scene-transitions-in-phaser-3-part-1
# Proof of Work Done
https://github.com/onepicesteem/Create-Animation-And-Scene-Transitions-In-Phaser-3-Part-2


